Basic Hair Curling Methods With A Flat Iron
Now that you’ve selected the perfect flat iron, it’s time to learn some basic hair curling techniques. Curling with a flat iron may seem tricky at first, but with a little practice, you’ll find that it’s a versatile and easy way to create beautiful curls. Whether you’re aiming for soft waves or tighter curls, these techniques will give you great results.
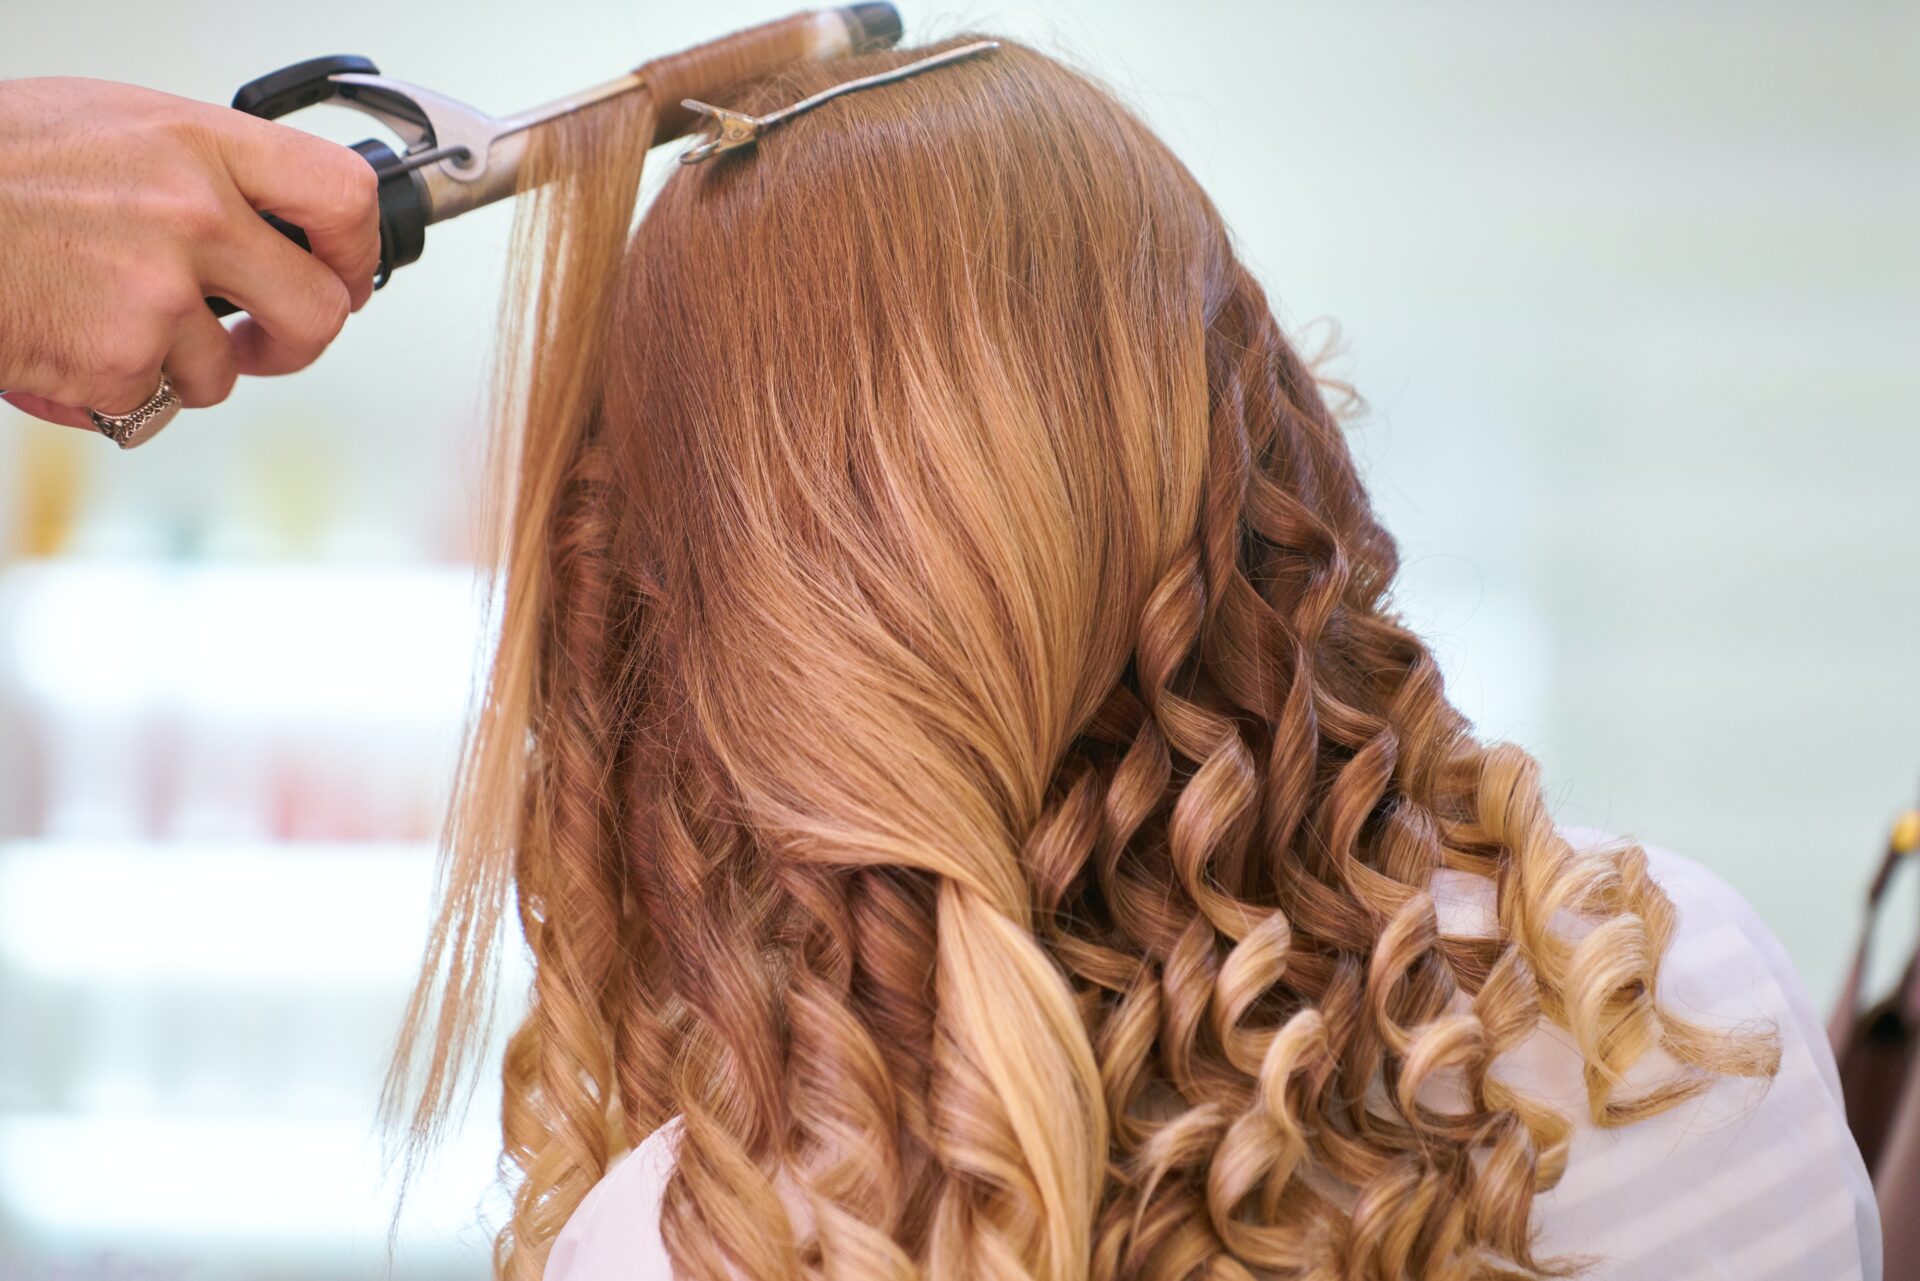
The Classic Curling Technique: Start by sectioning your hair into manageable parts to make the curling process easier. Take a 1-2 inch section of hair and place the flat iron near the root, clamping the plates together. Twist the flat iron 180 degrees away from your face, and then slowly glide it down towards the ends of your hair while keeping the plates clamped. This technique creates a natural, loose curl. For tighter curls, you can rotate the flat iron 360 degrees and pull it through more slowly.
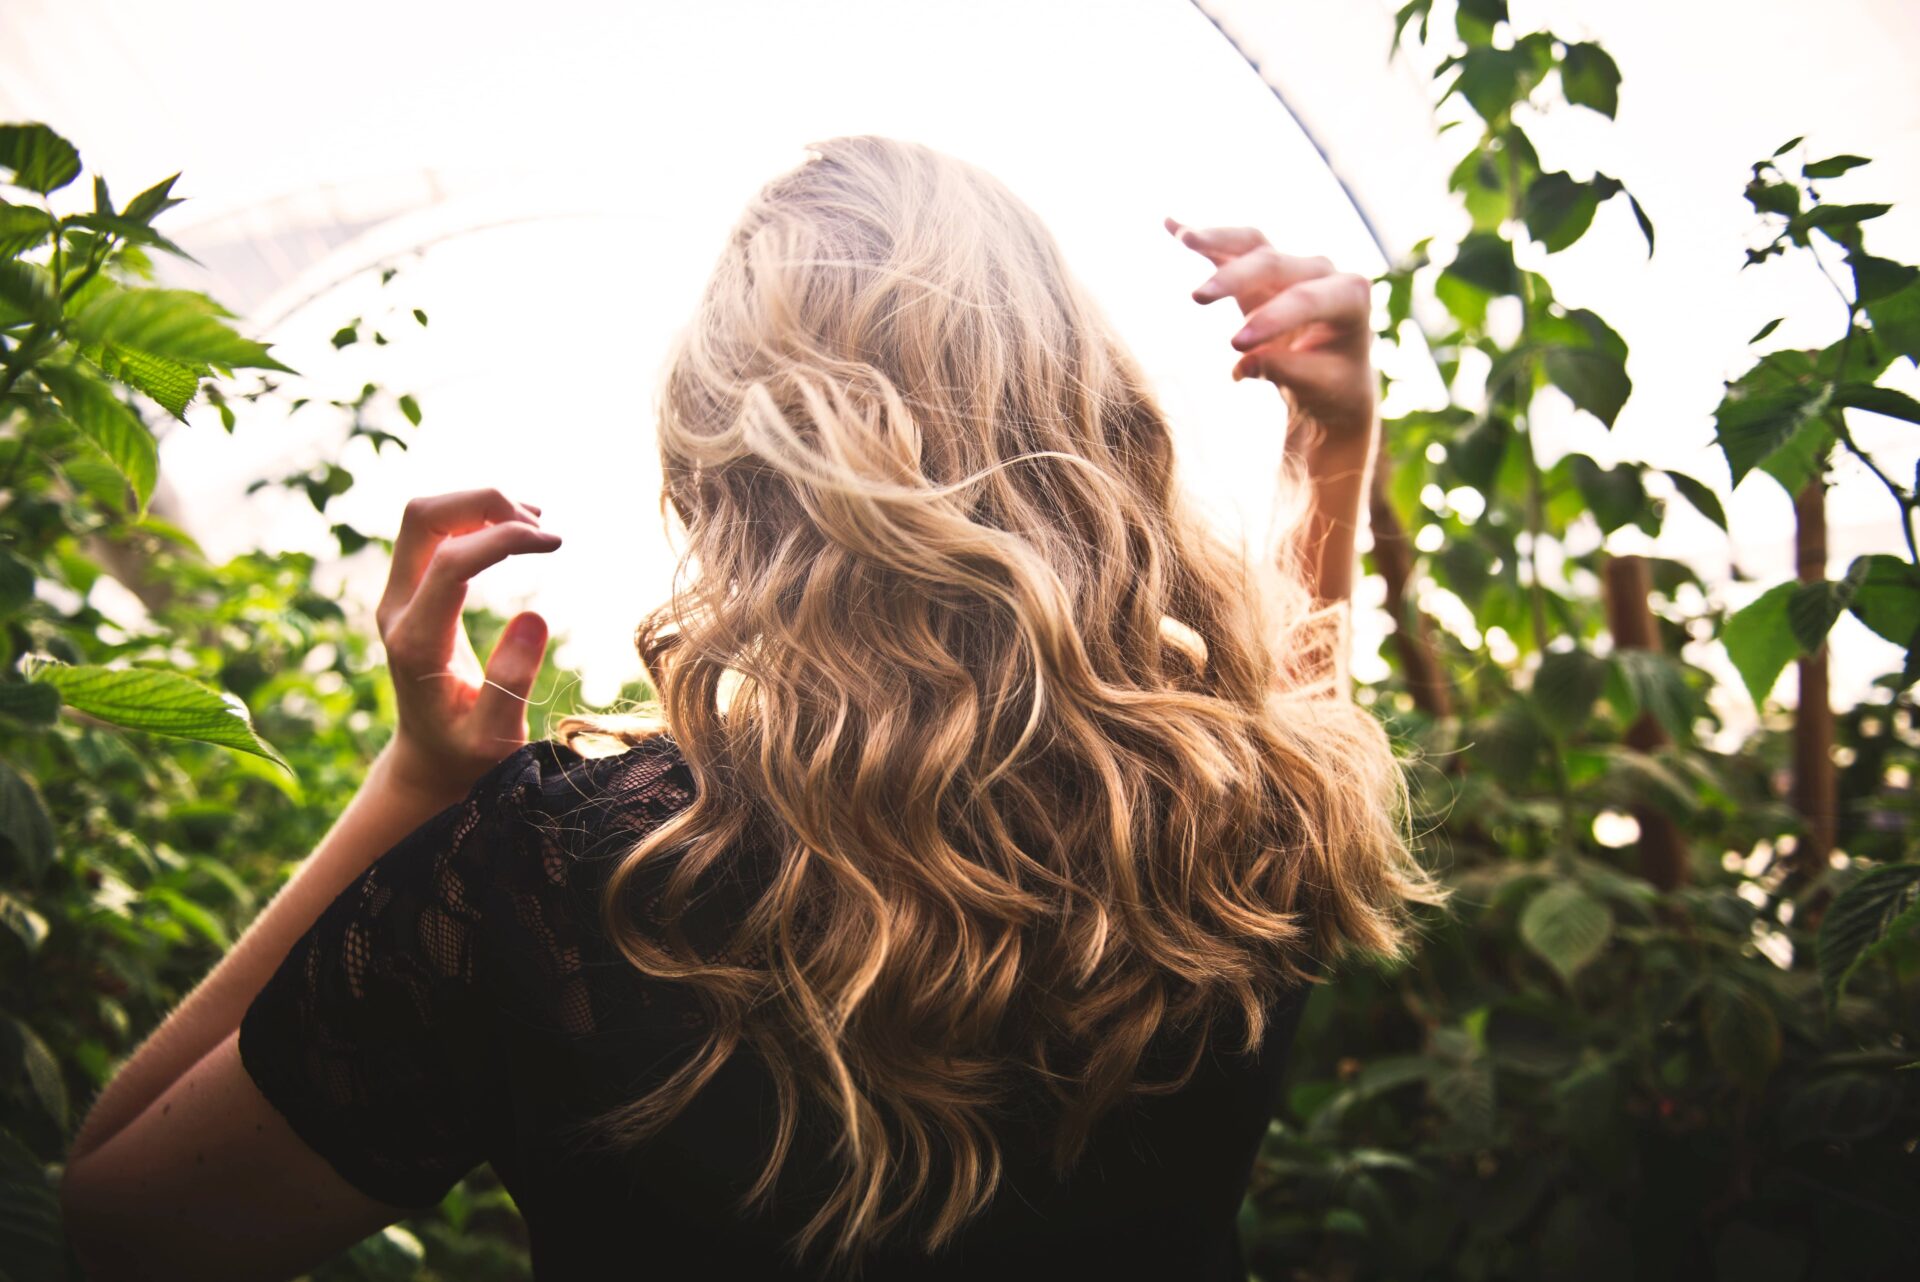
Loose Beach Waves: For a more relaxed, wavy look, you can use a looser version of the classic curl technique. Start by taking a larger section of hair (around 2-3 inches). Clamp the flat iron at the mid-length of your hair and twist it away from your face, but this time, instead of pulling it straight down, release the flat iron earlier to allow the curl to drop and loosen naturally. This creates effortless, beachy waves that are perfect for a casual, everyday look.
The Spiral Curl: If you’re aiming for more defined, spiral-like curls, this technique is for you. Take a small section of hair (1 inch or less), clamp the flat iron near the root, and twist it tightly around the barrel of the flat iron. Slowly pull the flat iron down the length of your hair while maintaining the tight twist. This will result in bouncy, springy curls that are perfect for more formal events or when you want extra volume.
Curling Short Hair: Curling short hair with a flat iron can be challenging, but it’s definitely possible with the right technique. Use a smaller section of hair and rotate the flat iron quickly through the hair while pulling down gently. For a more textured look, alternate the direction of the curls to create more movement and volume.
Pro Tip: Always curl away from your face for a more flattering, open look. Once you’ve curled a section, let it cool down before touching or brushing it to set the curl in place. You can then run your fingers through the curls to loosen them up for a more natural finish.
Advanced Hair Curling Techniques For Different Hair Types
While the basic hair curling methods work well for many people, adjusting your approach based on your hair type can make a huge difference in the final look. Different hair types require different methods, heat settings, and care to achieve the best results. Below are advanced techniques tailored for various hair types to ensure your curls are long-lasting and flawless.
Fine Hair: Fine hair can be tricky to curl because it often struggles to hold the shape for a long time. To make your curls last longer, start by prepping your hair with a lightweight volumising mousse or texturising spray. This will give your hair some grip and help the curls stay in place. When using the flat iron, keep the heat on a lower setting, between 150°C and 180°C, to avoid damaging the delicate strands. Take smaller sections of hair (around 1 inch) and twist the flat iron slowly for tighter curls that hold better. After each curl, spray a light-hold hairspray to lock it in place without weighing the hair down. Let the curls cool completely before touching or brushing them.
Thick Hair: Thick hair can often be more resistant to curling, and it may require a higher heat setting to hold the curls. Start by dividing your hair into smaller, manageable sections to ensure even heat distribution. Use a heat setting of around 200°C to 230°C for best results. For thick hair, the twist-and-pull technique works well. Hold the flat iron at the root, twist it 360 degrees, and then slowly pull it down the length of the hair. To add extra bounce, wrap the curled section around your finger after releasing it from the flat iron and pin it to your scalp until it cools. This technique helps thick hair retain the shape for longer. You can also apply a smoothing serum to control any frizz while maintaining shine.
Curly or Textured Hair: Curly or textured hair already has natural volume, but you can use a flat iron to redefine the curls and create a more polished look. Start by blow-drying your hair straight or slightly smoothing it out with a heat protectant and flat iron to eliminate frizz. Once your hair is smooth, you can begin curling it with the flat iron. Take small sections (around 1 inch) and curl tightly for bouncy, defined curls. For a more natural look, alternate the direction of each curl. If you want to maintain your hair’s natural texture while adding definition, use the flat iron to enhance a few key sections of curls.
Short Hair: Curling short hair requires a slightly different approach. Use a flat iron with thinner plates (less than 1 inch) to get more precise curls. Start by curling small sections, making sure to rotate the flat iron quickly while pulling it down to prevent harsh lines. You can also try adding texture by curling sections in alternating directions. For a tousled, modern look, focus on adding curls to the top layers of your hair while leaving the lower layers smooth. Once you’ve finished curling, gently run your fingers through your hair to break up the curls for a more effortless look.
Pro Tip: No matter your hair type, always use a heat protectant spray before curling to shield your hair from heat damage. Also, allow your curls to cool completely before brushing or styling them, as this helps the curls set and last longer.
How To Make Your Flat Iron Curls Last Longer
Creating beautiful curls with a flat iron is only half the battle – the real challenge is making sure they last. Different hair types and environmental factors can affect the longevity of your curls, but with the right preparation and post-curl care, you can keep them looking fresh for hours or even days. Here’s how to ensure your curls stay in place longer.
Start with Clean Hair: Freshly washed hair is more likely to hold a curl compared to hair weighed down with oils or product build-up. Use a lightweight shampoo and conditioner that won’t leave any heavy residue. Avoid over-conditioning your hair, as this can make it too slippery for the curls to hold.
Use the Right Hair Products: Before curling, apply a heat protectant spray to prevent damage, but choose one that also offers some light hold. A volumising mousse or texturising spray applied to damp hair can give your curls more staying power. These products help give your hair some grip, making it easier for the curls to hold.
Curl Small Sections of Hair: When curling, divide your hair into smaller sections. Curling smaller sections means the heat from the flat iron will distribute more evenly, and the curl will be tighter and last longer. Larger sections tend to fall out faster, so take your time and work through your hair in smaller parts.
Let Curls Cool Before Touching: Once you’ve curled a section, let the curl cool completely before touching or brushing it. This allows the curl to set properly, making it more durable. For extra staying power, you can clip each curl to your scalp as it cools, a technique often used for tight curls or special occasions.
Finish with a Light-Hold Hairspray: After you’ve finished curling, spray a light-hold hairspray over your curls to lock them in place. Be careful not to use too much, as heavy sprays can weigh your hair down and cause the curls to fall flat.
Let Us Handle Your Curls At Chobham Hair Studio
While curling your hair with a flat iron can be a fun and creative way to style at home, I understand it can sometimes feel overwhelming or time-consuming. Perfecting those hair curling techniques takes practice, and not everyone has the time or patience to get it just right. That’s where I come in.
At Chobham Hair Studio, we specialise in creating beautiful, long-lasting curls that are matched to your style and hair type. Whether you’re after soft beach waves, tight spirals, or something in between, we have the expertise and professional tools to give you the look you’ve been dreaming of, without the stress of doing it yourself.
Why spend your time struggling with flat irons and styling products when you can relax and let us take care of it? Our stylists are trained to handle all hair types, and we know exactly how to achieve those stunning, salon-quality curls that last. Plus, we use only the best products to protect your hair and keep it looking healthy and glossy.
If you’re ready to skip the hassle and enjoy perfect curls, simply call us at 01276 858 487 or visit Chobham Hair Studio to book your appointment today. Let us create the beautiful, effortless curls you deserve, while you sit back, relax, and leave the hard work to us!
